

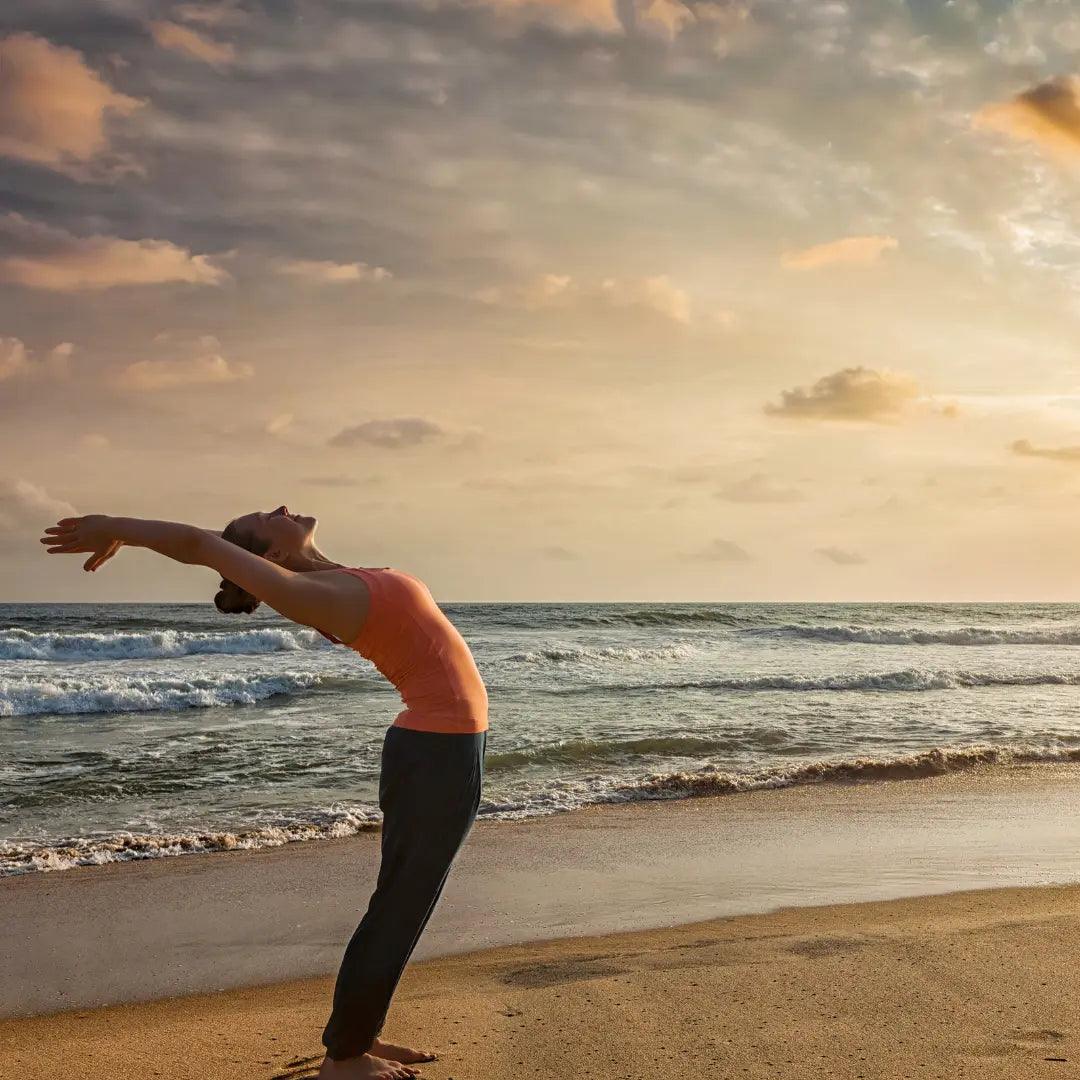
The Ancient Practice of Surya Namaskara in Ayurveda

I never prefer to go to the gym and do exercise with equipment. It's not me for some reason. That doesn't mean I should be excused to do any exercise. Thus, my inclination is always toward walking, running, and yoga. And I squeeze in any of those in my day-to-day routines. When I was in school, one of the basics we learned in the physical education class was Sun Salutation, aka Surya Namaskara, a set of yoga poses. I still remember I used to practice this sun salutation on my home terrace/balcony first thing in the morning. In today's world, sun salutation is all about self-care and wellness, while in India, I learned that this is the way of living life. Today, I wanted to share all about Surya Namaskara.
History and Origins of Surya Namaskara
Before we go further, I always like to give an overall overview and some background. So what is Surya Namaskara?
Surya Namaskara, also known as the Sun Salutation, is an ancient Ayurvedic practice dating back thousands of years to Vedic times. Originally conceived as a form of worship to the sun deity, Surya, this sequence of poses was traditionally performed at dawn to welcome the new day. In Ayurveda, the sun is considered the ultimate source of 'prana' or life force, an essential energy for all living beings to function. Prana keeps us alive and healthy, obtained from the food we eat, the air we breathe, and the sunlight we absorb.
Although it is now considered a part of modern yogic practices, Surya Namaskara was not originally classified as an asana or traditional yoga pose. Instead, this holistic approach to health and well-being was integrated into daily Ayurvedic routines to balance the body, mind, and spirit. There are twelve sets of yoga poses that you need to perform in a set. This yoga pose pushes the right points of your body to gain strength and connection to mind, body, and spirit.
Performing Surya Namaskara
Surya Namaskar comprises a sequence of twelve postures performed in a fluid, rhythmic motion. Here's a step-by-step guide:
Step 1: Pranamasana (Prayer Pose)
The Prayer Pose, or Anjali Mudra, is integral to many yoga sequences. It helps to calm the mind, reduce stress, promote better posture, and enhance flexibility. Bringing your hands together at your heart center directs your energy inward, fostering a sense of peace and tranquility. This simple gesture can significantly improve your focus, concentration, and mindfulness.
How to Perform the Prayer Pose Correctly
Stand tall with your feet hip-width apart. Gently bring your palms together at the chest level, aligning them with your heart. Keep your fingers pointing upwards and press your palms together firmly but without strain. Close your eyes and take several deep breaths, focusing on the rhythm of your inhales and exhales. Hold this pose for 30 seconds to a minute or as long as comfortable.
Step 2: Hasta Uttanasana (Raised Arms Pose)
The Raised Arms Pose is a standing pose often used as a transitional movement in many yoga flows. It's a fantastic posture for improving flexibility, particularly in the shoulders, arms, and chest. It also helps strengthen the legs, tone the abdomen, and improve posture. On a mental and emotional level, Urdhva Hastasana promotes mindfulness, focus, and tranquility. It encourages deep, controlled breathing, which can help to reduce stress and anxiety, fostering a sense of calm and relaxation.
How to Perform the Raised Arms Pose Correctly
Stand tall in Mountain Pose (Tadasana) with your feet hip-width apart.
On an inhale, lift your arms overhead, reaching toward the sky. Ensure your palms face each other, creating a straight line from your fingertips down to your feet. Keep your shoulders relaxed and away from your ears. Hold this pose for 5-10 breaths, then release your arms on an exhale.
Step 3: Hasta Padasana (Hand to Foot Pose)
The Hand to Foot Pose is a beautiful posture that helps you feel empowered while enhancing your strength and flexibility, particularly in the back of your legs, ankles, and hip joints. It's also an excellent pose for improving balance, opening the chest, and strengthening the spine.
How to Perform the Hand-to-Foot Pose
Begin standing in Mountain Pose with your feet hip-width apart. Shift your weight to one foot, then lift your other foot off the floor. Reach down and hold your raised foot's big toe with the hand on the same side. Extend your raised leg out in front of you, keeping your spine long and chest open. Maintain this pose for a few breaths, then gently release and repeat on the other side.
Step 4: Ashwa Sanchalanasana (Equestrian Pose)
The Equestrian Pose is a low lunge that targets calves, hamstrings, and quadriceps while also involving ankles, chest, glutes & hip flexors, knees, and spine muscles. It provides an excellent stretch to the hip flexors and helps to improve balance and alignment.
How to perform Equestrian Pose
Here are the steps to perform this pose correctly:
Start in Mountain Pose, standing tall with your feet hip-width apart.
Step one foot back, keeping your toes on the ground and your heel lifted.
Bend your front knee directly above the ankle, creating a 90-degree angle. Keep your back leg straight and strong, and your hips squared to the front of your mat. Raise your arms overhead, palms facing each other. Hold this pose for a few breaths, then switch sides.
Step 5: Dandasana (Stick Pose)
The Stick Pose is a restorative posture often used for cooling down and relaxation1. Physically, it stretches the entire body, from the toes to the fingers, promoting flexibility and relieving tension1. It's also great for correcting posture and alignment and can even help alleviate back pain.
On a spiritual level, Yastikasana encourages mindfulness and deep, controlled breathing, fostering a sense of calm and relaxation1.
How to Perform the Stick Pose
Here are the steps to perform this pose correctly:
Lie flat on your back on a yoga mat or any comfortable surface. Extend your legs and keep them together. Stretch your arms overhead, palms facing upwards. Inhale deeply, elongating your body as much as you can.
Hold this position for a few breaths, then exhale and relax.
Step 6: Ashtanga Namaskara (Salute with Eight Parts Pose)
Astavakrasana gets its name from the sage Astavakra, who, according to ancient texts, was physically crooked in eight places. This pose is a powerful symbol of overcoming physical and mental obstacles. It strengthens the arms, wrists, and shoulders, increases balance and concentration, and stimulates the abdominal organs.
How to perform Salute with Eight Parts Post
Let's break down this pose, starting from the base:
Legs: Begin seated, bringing your right knee towards your chest. Hook your right foot over your left arm and start to wiggle your right shoulder under your right knee.
Hips and Core: Lean forward, planting your palms on the mat. Engage your core as you lift your hips off the ground. Chest and Arms: Shift your weight into your hands, extending your legs to the side. Keep your chest lifted and your gaze forward.
Step 7: Bhujangasana (Cobra Pose)
The Cobra Pose, named after the king cobra snake, is a back-bending yoga posture that helps to open up the chest and strengthen the spine. It targets the chest, shoulders, abdomen, and lower back, promoting flexibility and strength.
How to perform Bhujangasana:
Here's how you can perform the Cobra Pose:
Lie flat on your stomach, your toes flat on the floor, and your forehead resting on the ground. Keep your legs close together, with your feet and heels lightly touching each other. Place your hands (palms downwards) under your shoulders, keeping your elbows parallel and close to your torso. Inhale deeply and slowly lift your head, chest, and abdomen while keeping your navel on the floor. Pull your torso back and off the floor with the support of your hands. Keep breathing and hold the pose for about 15-30 seconds before releasing the pose with an exhalation.
Step 8: Adho Mukha Svanasana (Downward Dog Pose)
This pose strengthens the arms, legs and core, and stretches the hamstrings, calves, arches, hands, and spine. It can improve digestion, relieve back pain and sciatica, and can be therapeutic for high blood pressure, asthma, and sinusitis. This pose calms the brain and helps relieve stress and mild depression. It energizes the body and can also improve memory and concentration.
How to perform Downward Dog Pose:
Start on your hands and knees, with your wrists directly under your shoulders and your knees under your hips. Exhale as you tuck your toes and lift your knees off the floor, reaching your pelvis up towards the ceiling. Gently begin to straighten your legs, but do not lock your knees. Bring your body into the shape of an "A." Stay in this pose anywhere from 1 to 3 minutes.
Step 9: Ashwa Sanchalanasana (Equestrian Pose)
Step 10: Hasta Padasana (Hand to Foot Pose)
Step 11: Hasta Uttanasana (Raised Arms Pose)
Step 12: Tadasana (Mountain Pose)
Start with a few rounds and gradually increase the number as you build strength and endurance. Remember, it's not about how many you can do but about moving with mindfulness and intention.
The Importance of Ayurveda about Surya Namaskara
Ayurveda, a holistic system of medicine originating from India, emphasizes the importance of balance among the three doshas—Vata, Pitta, and Kapha—in maintaining optimal health. Surya Namaskara plays a crucial role in this process, helping to balance these fundamental energies through a series of dynamic postures synchronized with the breath. Each pose in the Surya Namaskara sequence stimulates specific energy channels, or nadis, within the body, promoting circulation and aiding detoxification. This harmonious union of movement and breath helps to cultivate a sense of inner peace, making Surya Namaskara an integral part of Ayurvedic self-care practices.
Physical and Mental Benefits of Surya Namaskara
Surya Namaskara offers a range of physical and mental benefits. On a physical level, it helps to improve circulation, strengthen the immune system, enhance flexibility, and promote digestion.
Mentally, Surya Namaskara serves as a moving meditation, helping to calm the mind, reduce stress, and improve focus. According to Ayurvedic principles, this practice fosters mindfulness and presence, critical components of mental well-being, by synchronizing movement with breath.
How to Perform Surya Namaskara
Surya Namaskar comprises a sequence of twelve postures, each linked with a specific breath pattern. It's recommended to start with a few rounds and gradually increase the number as your strength and endurance improve.
When performing Surya Namaskara, smooth, calm movements are encouraged, with each posture ideally held for five seconds or more to promote stillness and awareness.
The Spiritual Aspect of Surya Namaskara
More than a physical exercise, Surya Namaskara is a spiritual practice that symbolizes the sun's cycle from dawn to dusk. Each pose in the sequence is accompanied by a specific mantra, invoking the sun's energy and fostering a deeper connection with the divine.
Through regular practice of Surya Namaskara, individuals can cultivate a sense of gratitude for the sun's life-giving energy, enhancing their spiritual well-being and fostering a deeper connection with the natural world.
In conclusion, Surya Namaskara embodies the principles of Ayurveda, offering a holistic approach to health and well-being. This ancient practice can improve our physical health, calm our minds, and deepen our spiritual connection.

Leave a comment
This site is protected by hCaptcha and the hCaptcha Privacy Policy and Terms of Service apply.